Không tìm thấy tin đăng này!
RAO VẶT HÔM NAY
 2
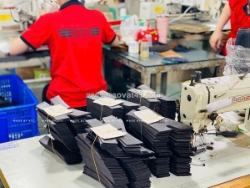
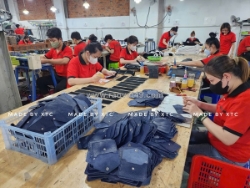
2Gia công đồ da trực tiếp tại xưởng – giúp bạn kiểm soát toàn bộ quá trình sản xuất
Cập nhật: vài giây trước- 1
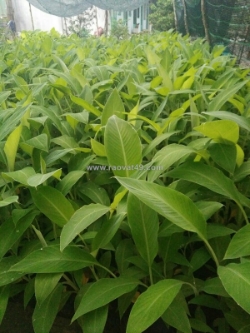
Giống chuối cấy mô số lượng lớn 0937392133 ms.hằng
Cập nhật: 1 phút trước - 0
Cập nhật bảng giá máy lọc nước karofi 2026 và kinh nghiệm mua sắm tiết kiệm
Cập nhật: 1 phút trước - 1
Cách massage bụng bầu bằng dầu oliu giúp da luôn mềm mại
Cập nhật: 2 phút trước - 0
Nhân sâm hàn quốc tươi – lựa chọn cao cấp dành cho người
Cập nhật: 3 phút trước - 1
Cập nhật 2026 bảng giá máy lọc nước gia đình và bí quyết mua sắm tiết kiệm nhất
Cập nhật: 3 phút trước - 2
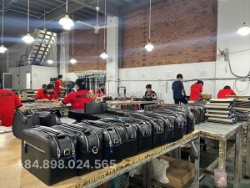
Nhập sỉ đồ da trực tiếp từ xưởng – giúp bạn bán dễ, giữ lợi nhuận
Cập nhật: 6 phút trước - 2
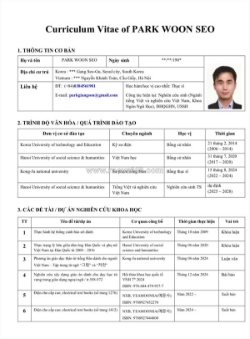
Cần tìm công việc giảng dạy tiếng hàn, cty điện, phiên dịch, biên dịch
Cập nhật: 12 phút trước - 2
Quà tặng đồ da cao cấp – giúp doanh nghiệp tạo ấn tượng chuyên nghiệp
Cập nhật: 12 phút trước - 0
Du học mỹ không phải là con đường dễ dàng
Cập nhật: 15 phút trước - 2
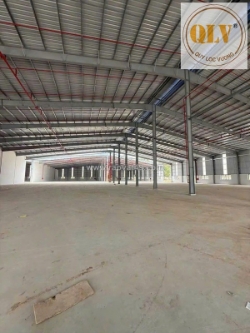
Cho thuê nhà xưởng phước hòa, phú giáo, bình dương 13.904m²
Cập nhật: 15 phút trước - 0
Du học mỹ new ocean không chỉ hỗ trợ hồ sơ mà còn giúp học sinh chuẩn bị tâm lý
Cập nhật: 20 phút trước - 0
Nhân sâm hàn quốc tươi – giá trị thiên nhiên được nhiều người tin chọn
Cập nhật: 21 phút trước - 0
Sinh hoạt phí tại mỹ cũng là khoản đáng kể mà gia đình cần chuẩn bị
Cập nhật: 25 phút trước - 2
Giới thiệu về nhựa pei
Cập nhật: 26 phút trước - 2
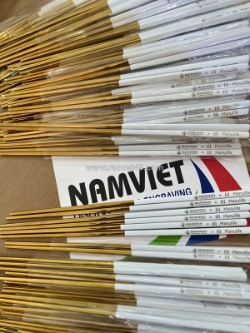
Khắc laser lên đũa theo yêu cầu
Cập nhật: 28 phút trước - 0
Tiếp cận du học bằng tư duy chiến lược sẽ giúp người học đi đúng hướng
Cập nhật: 30 phút trước - 2
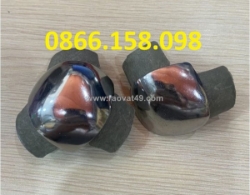
Tìm nguồn ke góc 2 chân, ke góc 3 chân nhôm kính giá tốt cho xưởng sản xuất
Cập nhật: 34 phút trước - 1
Một tuyển thủ bị “global ban” – sự nghiệp khép lại chỉ sau một quyết định
Cập nhật: 36 phút trước - 1
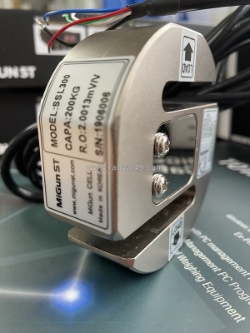
Loadcell - cảm biến trọng lượng migun ssl300-200kg
Cập nhật: 39 phút trước